Tuesday, January 19, 2016

Roof Sheathing

We continued to work on the blocks between the rafters. The moon is getting more full:


My brother Isaac was there, and he cut out a window and a door opening. I can install them anytime now.


Finishing the last couple rafter blocks! I doubled up the last one because there was a stud in the way, and I figured the end rafter should be held on extra well.


Then we started putting on the sheathing:


We got a couple sheets on. Look at how wavy the wall is, visible because of the oblique lighting. Some of that wavyness will be removed by window cut-outs:


Thursday, January 14, 2016

Rafter spacers / Walls sheathed

We are part way done putting spacers between the rafters, to support the edges of the roof sheathing:


 I have a tape measure running the length of the house so that I can change the length of the boards Beth cuts for me, if the rafters get off 16in centers. One end I can nail easily, but the other end is harder, so I toe-nail it from both sides and put in a toe nail from the bottom of the rafter.


Some friends came over again, and we finished the sheathing.  The third row was pretty hard, but we eventually got a routine that worked
(not shown): hand one end of the sheet up to Rusty on the right. Have Matt, on left carry the other end up, with Tobias steadying it from the center. Then while Rusty and Matt hold it, Tobias nails it, starting at the bottom center, and working up and then out. Meanwhile Matt glues the next. Pro-tip: get the 20$ caulk gun at Lowes, not the 10$. It's worth it.

Here is a sheet going up:


Then the camera operator went away, and when she came back, we were about to put up the last little piece of wall. I like this one, because the south wall is in the dark, so this end wall is just floating in night:
I am cutting off the headplates that I had left long. It would have been a lot easier at many earlier points in the process.

Here is Rusty gluing for the last sheet. You can't see it, but he signed his name in glue:


And, the last sheet is up! Walls are done. Roof...soon?
We call this the "Prow of the Ship". It is the back of the trailer, but when it's parked, any end is the front.

More Sheathing

Over the next week or so we got the rest of the sheathing on the walls. Here is the north wall.
For some reason, my tireless helper Rusty only barely appears in one of the pictures:


We cut off the end of the first row, and it just works for the beginning of the second:


Sheathing Day

We had some friends over, and put sheathing on half the walls.
Here is the first sheet up, need and square. We let the extra hang down below the edge of the trailer. I can either strike a line and trim it off, or build some structure to hold it, and let the walls extend down farther. I can fill it with insulation, and that will help---right now the corner between the wall and floor is pretty lacking in insulation.


Rusty and Tobias putting up an angled sheet. Two rows done!

One long wall down, the short wall goes fast:

Started on the other long wall, and then called it a day. Here is some of the crew:

Last Window and final bracing

We bought a small window! The kind that is usually used in a tiny house. So we cut out a stud and framed in a window opening. It will give a bit of a view from the little loft.


We finished up the bracing. Now we have good straps on all four sides. I wonder if we should put some on the roof. The sheathing is considered good.

Here are the straps over the bump-out:


Most of the straps bolt to the trailer bed. We also fastened down a stud on each corner, and twice in the middle of the long sides. Then we fastened a strap to the top of that stud, so we have continuous member from the bed to the roof. I'll wrap the top strap around the 2x4 I'll lay on the top of the roof sheathing. (since it's going to be a green roof, I need a "rim" around the edge to keep the dirt in. This will be a 2x4 laid flat, under the EPDM.)

On the south side, there are lots of windows, which makes bracing it more difficult. I put in angled 2x4 gussets, backed up with straps, between these two windows. This will keep the headers from moving toward or away from each other, so then if one is braced, the other stays sturdy too. It makes the wall more of a single unit.

Tuesday, December 29, 2015

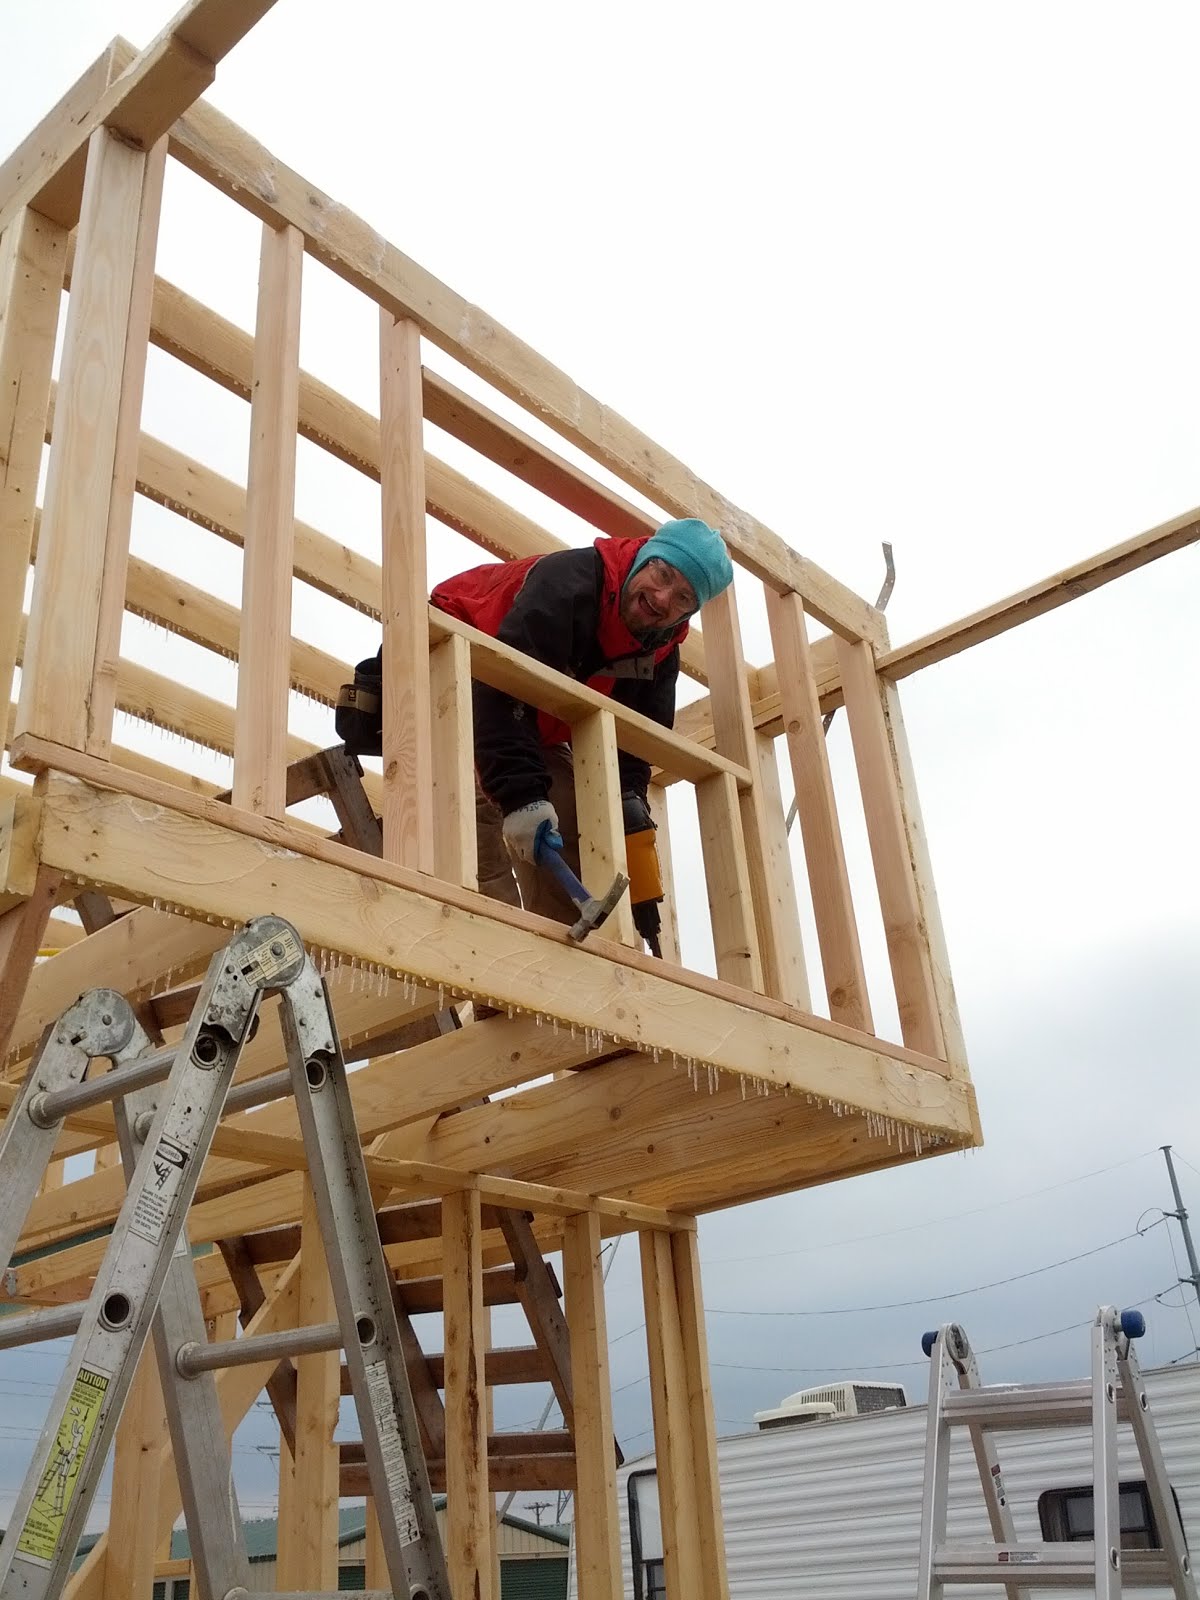
Loft wall: Ice Day

The tiny house is coming along nicely: here is an overview picture:
 we have worked out a good set-up for working on it: we set up the chop saw, put the compressor in the trunk of the car, and run the cord to it -- this is after we get it started up by the building--the compressor warms up better, when plugged directly into the outlet, rather than on a cord. Usually, I roll the little trailer down here too--it has all the tools on it.

Today it started out sunny, but we had just had snow and ice, so everything was covered with about 1/4 inch of ice.  Of course, you can't nail boards together with that much ice on them, and if the construction adhesive is going to work, you need to have no ice. The F-26 construction adhesive I use says it sticks to wet lumber, and to frozen lumber, but I can't see that anything would stick to wet frozen lumber.


So, we started the day by chipping the ice off the surfaces where we needed the boards to go:


Then, I cut the studs to length, and put notches in the end of each one. The notch is where the last rafter will sit:


We glued and nailed the wall together:


Then, the two of us got it up into place:


But most of the notches didn't quite fit under the last rafter, so we took it down, carefully, without squashing Beth (no pictures, because my photographer was busy lifting a wall). I cut the notches a little longer, and put it back up. This time it fit just right, so I glued it in place, and nailed it up:


Now this is the view from the loft. This frame will have a half-moon window in it:

Still have a couple short "cripple" studs to put in above the window frame, but this is enough for the day, so we quit and went inside and warmed our toes and fingers.

Loft overhang

With the loft able to be walked on, we finished the last couple rafters--it was easier when we had something to stand on:


Then, I put in an angle brace to support the "bump out" where the loft cantilevers off the end of the trailer. I guess it's not really a cantilever, if I have braces. This video describes it in detail. This brace is the first of many:

On Christmas Day I didn't do any construction: I went for a 20 mile hike with a friend. I'm eating a snack at the furthest-out point.